Using a Tesla charger adapter is straightforward: match the adapter to your charging station type, plug it firmly into the station first, then connect your Tesla’s charging cable to the adapter, and verify the charging indicator light confirms a successful connection. The entire process takes less than 60 seconds once you’ve identified which adapter you need for the specific outlet or charging station you’re using.
Tesla owners encounter different charging scenarios regularly, from public Level 2 stations with J1772 connectors to various home outlets and DC fast chargers. While Tesla’s proprietary charging network remains the most convenient option for owners, adapters expand your charging possibilities significantly, especially during road trips or when using workplace charging stations. This flexibility becomes particularly valuable as more charging infrastructure becomes available through government-funded programs aimed at supporting EV adoption.
The adapters themselves are simple pieces of equipment, typically small enough to store in your vehicle, but using them correctly ensures both safety and optimal charging speeds. Different adapters handle different power levels, from standard 120-volt household outlets delivering around 3 miles of range per hour to 240-volt connections that can add 20 to 30 miles per hour. Understanding which adapter works with which charging source prevents compatibility issues and protects your vehicle’s charging system.
Most Tesla owners will eventually use at least two or three adapter types as their charging habits evolve. Whether you’re installing home charging infrastructure to take advantage of federal tax credits or simply need to charge at a friend’s house, knowing the proper connection sequence and safety checks gives you confidence at any charging location.
What You’ll Need: Adapters and Equipment
Before connecting to any charging station, you’ll need the right adapter for your Tesla. The three main types serve different purposes, and knowing which one to carry can save you from being stranded at an incompatible charging point.
J1772 Adapter (Level 2 Charging)
This is the adapter you’ll use most often. It comes standard with every new Tesla and connects your vehicle to the thousands of public Level 2 charging stations across North America. Any parking garage charger, workplace station, or destination charger not labeled “Tesla” will likely require this adapter. It works with all Tesla models produced from 2012 onwards and handles charging speeds up to 19.2 kW, though most public Level 2 stations deliver 6-7 kW.
CHAdeMO Adapter (DC Fast Charging)
This adapter enables fast charging at CHAdeMO stations, which are common at older highway charging locations and some Nissan dealerships. It’s compatible with Model S and Model X vehicles but won’t work with Model 3 or Model Y. The adapter itself costs around $450 from Tesla and supports charging speeds up to 50 kW. Check your road trip route beforehand, CHAdeMO stations are becoming less common as networks upgrade to newer standards.
CCS Adapter (DC Fast Charging)
For 2026, this is increasingly important. The CCS (Combined Charging System) adapter lets your Tesla access the growing network of non-Tesla DC fast chargers, including Electrify America and EVgo stations. All Tesla models sold from 2024 onwards can use this adapter, and it supports charging speeds up to 250 kW depending on your vehicle and the station’s capability.
Here’s what each adapter type unlocks:
- J1772: Public Level 2 stations, workplace chargers, hotel and retail parking chargers
- CHAdeMO: Older highway fast charging networks, some dealership stations (Model S/X only)
- CCS: Major third-party DC fast charging networks like Electrify America and EVgo (2024+ models)
Before purchasing any adapter beyond the included J1772, verify your specific Tesla model’s compatibility through your vehicle’s touchscreen under “Charging.” Third-party adapters exist but stick with Tesla-manufactured versions to maintain warranty coverage and ensure proper communication between your car and the charging station.
Safety Precautions Before You Begin
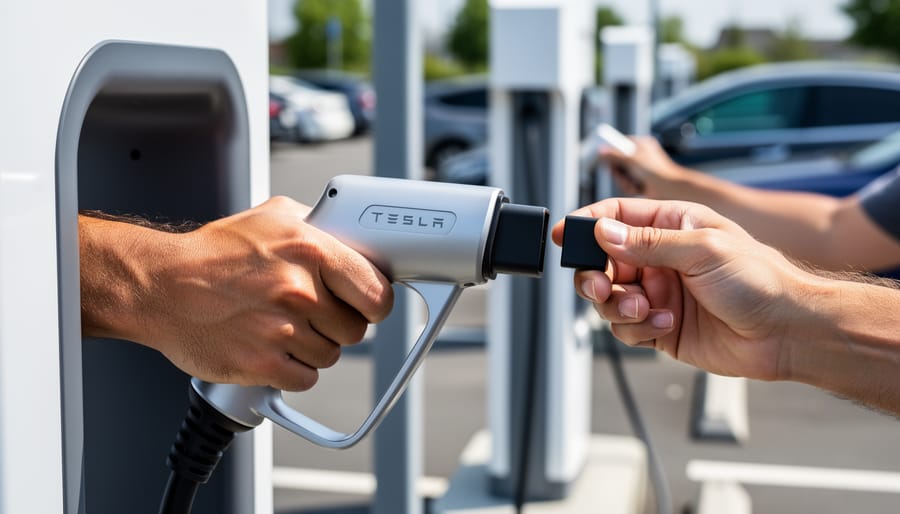
Before connecting any adapter to your Tesla, taking a few moments for safety checks protects both you and your vehicle’s charging system. These precautions prevent damage, ensure proper charging, and keep your warranty intact.
Start by inspecting your adapter’s physical condition. Look for cracks in the plastic housing, bent or corroded pins, and frayed cables if your adapter has an attached cord. Any visible damage means the adapter should not be used, damaged adapters can create dangerous electrical connections or fail to charge properly. If you spot wear or damage, contact Tesla or your adapter manufacturer for a replacement.
Keep all connections dry. Even light moisture can interfere with charging or create safety issues. If you must charge in damp weather, shield the connection area with your body or wait for conditions to improve. After use, store adapters in a dry location inside your vehicle.
Verify voltage compatibility before connecting. Most public Level 2 stations in North America operate at 240V, which all Tesla adapters handle safely. However, if you’re using an adapter at an unfamiliar location or with equipment you haven’t used before, check the station’s specifications posted on the unit or in the charging network’s app.
Only use Tesla-certified adapters or those explicitly approved for your Tesla model. Third-party adapters might fit physically but lack proper safety certifications, potentially voiding your vehicle warranty if they cause damage. Tesla’s official adapters meet rigorous safety standards and include built-in protections.
Finally, recognize when not to use an adapter. If a charging station looks damaged, displays error messages before you connect, or the equipment seems makeshift or modified, choose a different station. Your vehicle’s safety systems will catch many issues, but visual inspection remains your first line of defense.
Step-by-Step: Using a J1772 Adapter (Level 2 Charging)
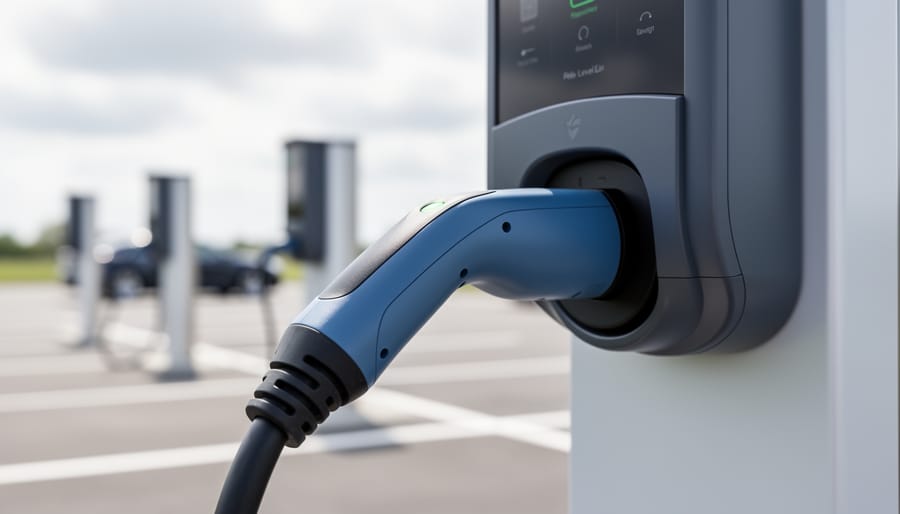
The J1772 adapter is your gateway to thousands of Level 2 charging stations across North America. This adapter comes standard with most Tesla vehicles and allows you to access non-Tesla chargers at shopping centers, hotels, workplaces, and residential charging stations. Learning the proper technique takes just minutes and will become second nature quickly.
Locating and Preparing the Charging Port
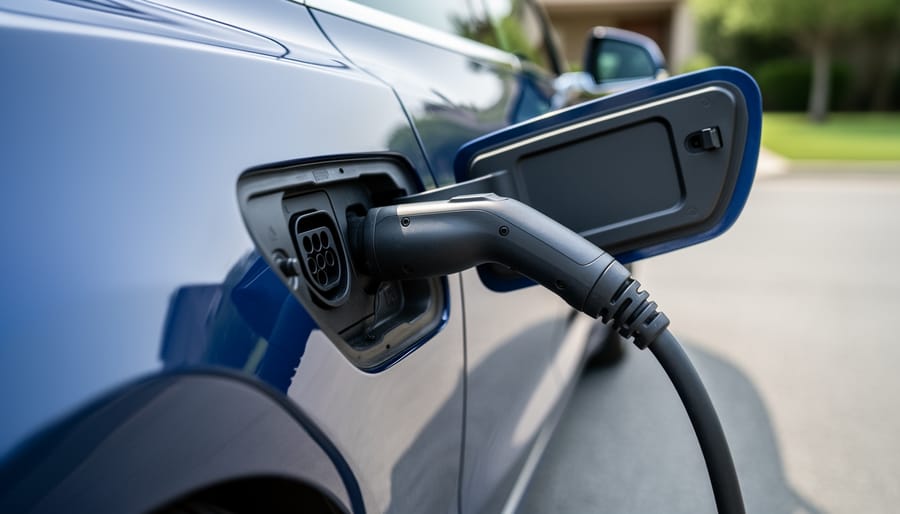
Park your Tesla within comfortable reach of the charging station cable. On most Tesla models, the charging port is located on the driver’s side rear quarter panel. Press the charging port door on the vehicle’s exterior, or tap the lightning bolt icon on your touchscreen to open it automatically. You’ll see the Tesla charging port with its distinctive rectangular opening.
Before handling any equipment, inspect both the J1772 adapter and the charging station connector for damage, debris, or moisture. Wipe away any dirt or water with a clean cloth. The adapter should have no cracks, exposed wiring, or bent pins.
Connecting the J1772 Adapter
- Insert the J1772 adapter firmly into your Tesla’s charging port until it clicks and locks in place. The adapter should sit flush against the port opening with no gap visible.
- Take the J1772 connector from the charging station and align it with the adapter already installed in your Tesla’s port. The connector has a distinctive J-shaped profile that only fits one way.
- Push the station connector into the adapter with steady pressure until you hear a second click and feel it lock. Some stations require you to press a release button on the connector handle before insertion.
- Check your vehicle’s touchscreen to confirm charging has begun. You should see the charging rate displayed in kilowatts and an estimated time to complete.
- When your charge session is complete or you’re ready to leave, stop the charge session through your touchscreen, the Tesla mobile app, or by pressing the button on the charging station.
- Press and hold the button on the J1772 connector handle to release it from the adapter, then pull it straight out and return it to the station holster.
- Remove the J1772 adapter from your Tesla’s charging port by pulling it straight out with firm, even pressure. Store the adapter in your vehicle for future use.
The charging port door will close automatically after a few seconds, or you can tap it shut manually. Most Level 2 stations deliver between 7 and 19 kilowatts, adding roughly 20 to 50 miles of range per hour depending on your Tesla model and the station’s capacity.
Step-by-Step: Using DC Fast Charging Adapters
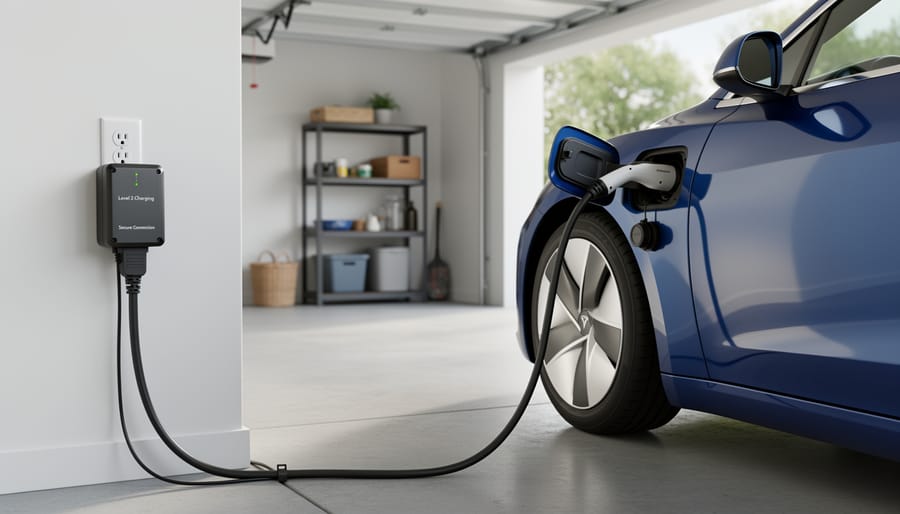
DC fast charging adapters unlock 50-150 kW charging speeds at third-party stations, adding 100-200 miles of range in 20-30 minutes. Tesla vehicles built before late 2024 typically require a CHAdeMO adapter for older fast chargers or a CCS adapter for newer networks like Electrify America and EVgo.
Before connecting, confirm your Tesla model supports DC fast charging and check which adapter type matches the station’s connector. Most CCS stations display rates of $0.35-0.55 per kWh or time-based fees, while CHAdeMO networks vary widely.
- Park close enough that the charging cable reaches your charge port without strain, typically within 6-8 feet of the dispenser.
- Use the station’s touchscreen or mobile app to authenticate, most accept credit cards, RFID cards, or network membership apps like ChargePoint or Electrify America. Complete payment authorization before connecting.
- Select the DC fast charging option on the station screen if prompted, then wait for the “Ready to charge” message.
- Open your Tesla’s charge port by pressing the button on the cable or tapping the port door on the vehicle.
- Firmly insert the DC adapter into your Tesla’s charge port first, you should hear a click and see the port light turn blue.
- Connect the station’s DC cable to the adapter, pushing firmly until both the adapter and cable lock together. The charge port light will pulse green when properly connected.
- Check your Tesla’s display or mobile app within 10-15 seconds to confirm charging has started and review the charging speed in kilowatts.
Monitor the session through your Tesla app, which displays real-time charging speed, estimated completion time, and accumulated cost if available. DC charging typically slows as your battery reaches 80% to protect battery health, this is normal behavior, not an adapter issue.
When finished, stop the session through the station screen or app first, then press the release button on the DC cable. Remove the cable from the adapter, then carefully remove the adapter from your charge port. Store the adapter in your vehicle immediately to prevent damage or loss.
Troubleshooting Common Adapter Issues
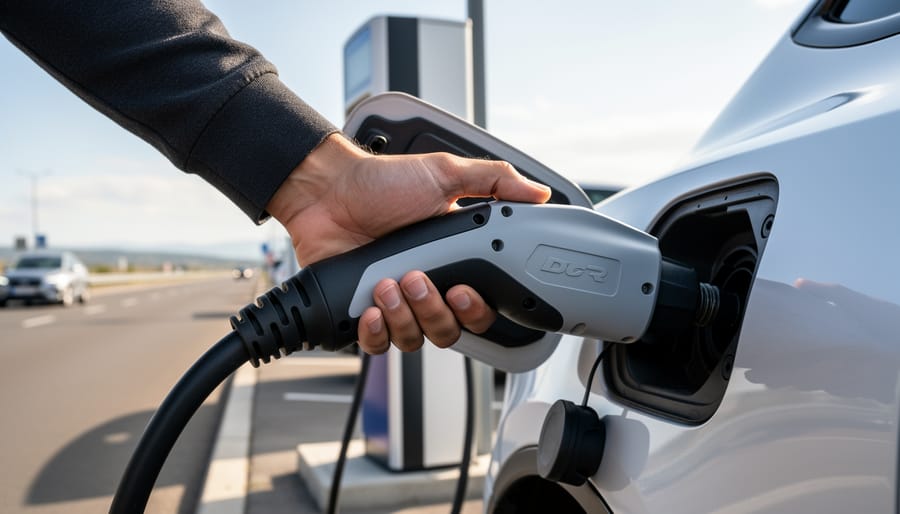
Even with proper technique, you’ll occasionally encounter charging hiccups. Here’s how to resolve the most common adapter problems.
Adapter Won’t Insert Properly
If the adapter refuses to fit smoothly into your charge port, stop forcing it. Check for debris in both the adapter and port, dust, leaves, or ice can block connection. Wipe clean with a dry cloth. Verify you’re using the correct adapter for that station type; a CHAdeMO adapter won’t work at a CCS station, no matter how hard you push. If the fit still feels wrong, try a different charging stall, the station’s connector may be damaged.
Charging Won’t Initiate
When your Tesla doesn’t recognize the connection, first check your touchscreen for error codes. The most common fix: unplug everything, wait 30 seconds, then reconnect in the proper sequence (adapter to car first, then station connector to adapter). Ensure the charge port door opened fully before insertion. Some public stations require you to swipe a card or tap “Start” in their app before the charge begins, the connection alone isn’t enough.
Unexpectedly Slow Charging Speeds
If you’re getting 7 kW at a station rated for 50 kW, the adapter itself is rarely the culprit. Check the station’s display for its actual output, many older DC fast chargers share power between multiple stalls. Your battery’s state of charge also matters; charging naturally slows above 80%. Cold weather can reduce speeds by 30-40% until the battery warms.
When to Stop and Get Help
Disconnect immediately if you notice unusual heat, burning smells, sparking, or if the adapter feels stuck. Never wiggle a hot adapter, let it cool first. Persistent error messages after two reconnection attempts mean something’s genuinely wrong. Contact the charging network’s support number (listed on the station) or Tesla roadside assistance rather than troubleshooting further.
Verifying Your Charge Session and Next Steps
Once you’ve connected your adapter and initiated charging, you’ll see confirmation within seconds. Your Tesla’s dashboard will display a green charging port icon, the current charge rate in kilowatts, and estimated time to reach your target battery percentage. The vehicle’s screen shows real-time charging speed, so if you connected to a 7.4 kW Level 2 station, you should see power delivery close to that rate, anything significantly lower may indicate a connection issue.
The Tesla mobile app provides the same monitoring from your phone, letting you step away from the vehicle while keeping tabs on progress. You’ll receive push notifications when charging starts, if any issues occur, and when your session completes. Many third-party charging stations also have their own apps that show session details, total energy delivered, and accumulated costs if you’re paying per kilowatt-hour.
Estimating charge time depends on your vehicle’s current battery level and the station’s power output. A typical calculation: if you need 30 kWh to reach 80% and you’re charging at 7 kW, expect about four to five hours accounting for the charging curve that slows as the battery fills. DC fast charging dramatically reduces this timeline, often adding 170 miles of range in 30 minutes at 150 kW stations.
For trip planning, identify charging stations along your route using the in-car navigation system, which filters by connector type and shows real-time availability. Build in buffer time for slower-than-expected charging and always carry your J1772 adapter as your universal backup, it works at the vast majority of public stations nationwide.
Proper adapter care ensures reliability when you need it most. After each use, wipe the adapter pins with a clean, dry cloth to remove any dust or residue. Visually inspect the pins and housing for cracks, corrosion, or bent contacts before storing. Keep adapters in your vehicle’s front trunk or center console storage rather than leaving them loose where they can collect moisture or get damaged. Avoid exposing adapters to extreme temperatures when not in use, and never force a connection if resistance is met, damage to adapter pins can leave you stranded. Replacing a damaged adapter costs $50 to $250 depending on type, so treating them as essential safety equipment rather than disposable accessories pays off.
Maximizing Your Charging Options with Government Incentives
Installing a home Level 2 charging station eliminates most daily adapter hassles. You’ll wake up to a full battery without hunting for public chargers or carrying multiple adapters. A 240-volt home charger delivers 25-40 miles of range per hour, enough to replenish your typical commute overnight.
The financial case is stronger than ever in 2026. The federal Alternative Fuel Vehicle Refueling Property Credit covers 30% of installation costs up to $1,000 for residential installations. Many states stack additional incentives on top. California offers rebates up to $2,000 through the Clean Vehicle Rebate Project, while Colorado provides $1,000 through Charge Ahead Colorado. New York’s ChargeEV program covers up to $4,000 for home charging equipment and installation combined.
Your local utility may offer further rebates or reduced electricity rates for overnight EV charging. Some programs cover 50-75% of total installation costs when federal, state, and utility incentives combine.
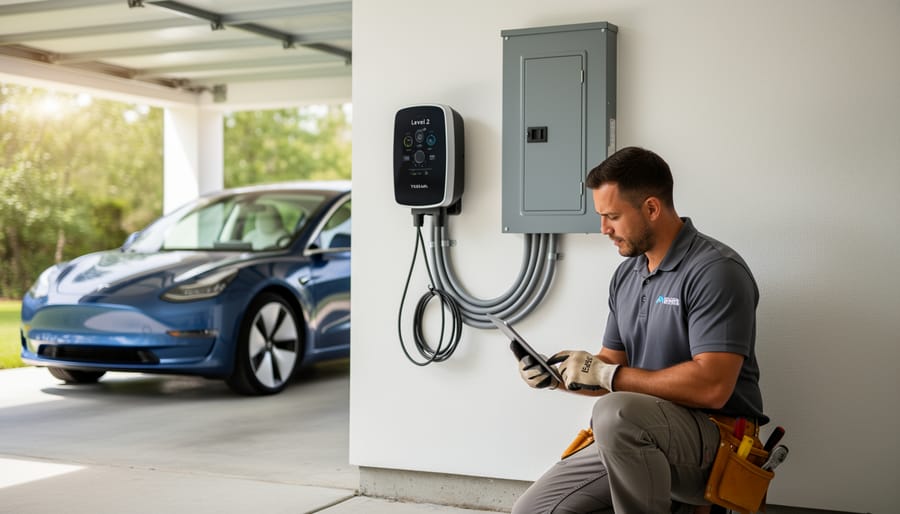
A certified electrician can assess your electrical panel capacity and recommend the right charging solution. Most installations qualify for incentives when completed by licensed professionals, and many installers handle the rebate paperwork directly.
Frequently Asked Questions
Can I use third-party adapters or should I stick with Tesla-branded ones?
Tesla-branded adapters guarantee full compatibility and maintain your warranty coverage, but many certified third-party options from reputable manufacturers work reliably at lower cost. Always verify that third-party adapters meet UL certification standards and check compatibility with your specific Tesla model year before purchasing.
Do adapters slow down my charging speed?
Quality adapters themselves don’t reduce charging speed, the station’s output capacity determines your charge rate. A J1772 adapter at a Level 2 station will charge at the station’s maximum amperage, typically 32-48 amps, while your Tesla’s onboard charger and the station’s power level set the actual speed.
Which adapters should I keep in my car?
Most Tesla owners need just the J1772 adapter for daily driving, as Level 2 stations are widely available. If you frequently travel long distances outside Tesla’s Supercharger network, consider adding a CCS adapter for broader DC fast charging access, though CHAdeMO adapters are becoming less essential as that standard phases out.
When don’t I need an adapter at all?
You won’t need adapters at Tesla Supercharger stations or at home if you’ve installed a Tesla Wall Connector or Mobile Connector with the appropriate outlet. Many newer public charging networks now include Tesla-compatible connectors alongside standard plugs, eliminating adapter requirements at those locations.
Understanding adapter compatibility saves you from purchasing unnecessary equipment. Tesla vehicles manufactured after 2024 include built-in support for CCS charging on certain models, reducing the need for separate adapters at non-Tesla DC fast charging stations. Check your vehicle’s specifications in the settings menu to confirm which charging standards your car supports natively.
Store your adapters in your vehicle’s trunk or frunk where they’re protected from extreme temperature swings and physical damage. Inspect them every few months for worn contacts or cracked housing, replacing any adapter that shows signs of wear rather than risking a failed charging session when you need it most.
Mastering your Tesla charger adapters transforms every charging station into a potential power source, giving you true freedom to travel confidently anywhere. While adapters are essential tools for public charging, they’re just one piece of your EV charging strategy. Installing a dedicated home charging station eliminates daily adapter hassles and provides the most convenient, cost-effective charging experience. With 2026 federal tax credits covering up to 30% of installation costs and many states offering additional rebates, there’s never been a better time to invest in home charging infrastructure. Whether you’re optimizing public charging with adapters or considering a home installation, each step you take strengthens your commitment to sustainable transportation and reduces dependence on fossil fuels.