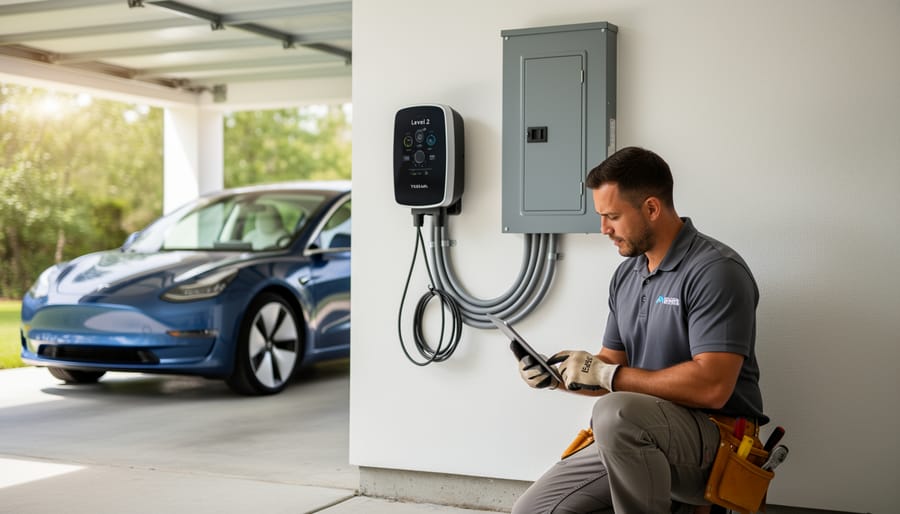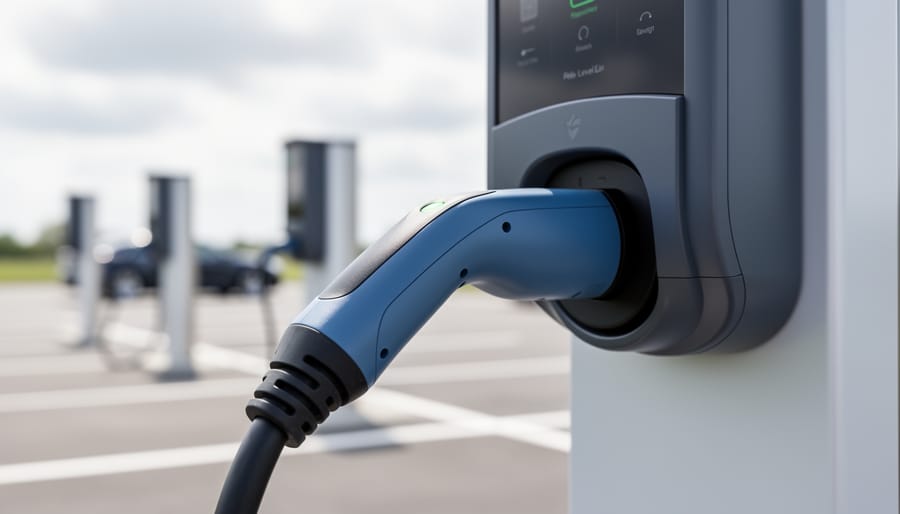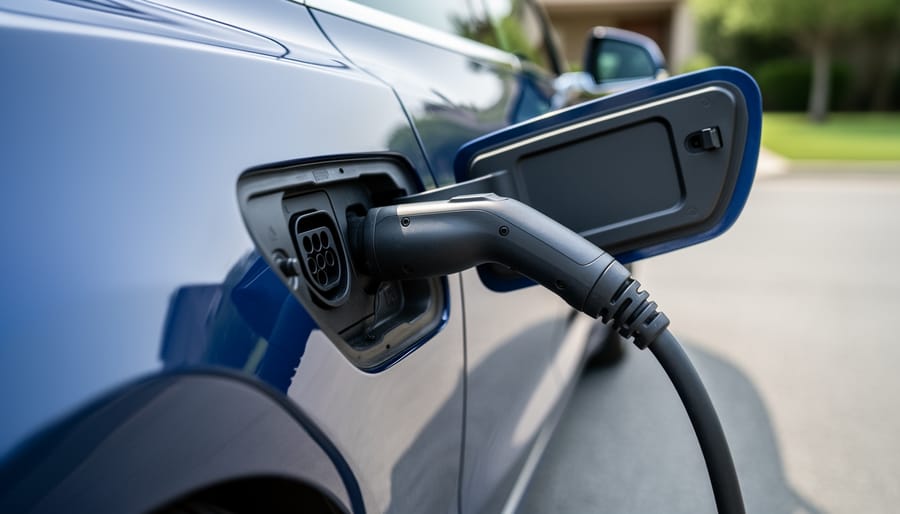
The most common reason your Tesla charger won’t insert is a locked charge port, often caused by the vehicle’s locking mechanism engaging while debris or ice blocks the port opening. Before you panic or call roadside assistance, try unlocking your Tesla through the touchscreen or mobile app, then inspect the charge port for any visible obstructions like leaves, dirt, or frozen condensation.
If a quick unlock and visual check don’t solve the issue, the problem likely stems from one of three causes: a misaligned connector pin inside the port, a faulty charge port latch motor, or you’re using an incompatible adapter or charging cable. This guide walks you through a systematic troubleshooting process, starting with the simplest five-second fixes and progressing to solutions that may require professional service.
Safety matters here. Never force a charging connector into the port, as this can damage both the vehicle’s charging pins and the connector itself, leading to expensive repairs that aren’t typically covered under warranty. If you notice any burnt smell, sparking, or visible damage to the charge port or cable, stop immediately and contact Tesla service or a certified EV technician.
Most charging insertion issues can be resolved in under ten minutes with no tools required. The step-by-step solutions ahead will help you diagnose exactly what’s preventing your charger from connecting and get your Tesla charging again, often saving you the cost and wait time of a service appointment.
Quick Diagnosis: Identifying Why Your Charger Won’t Insert
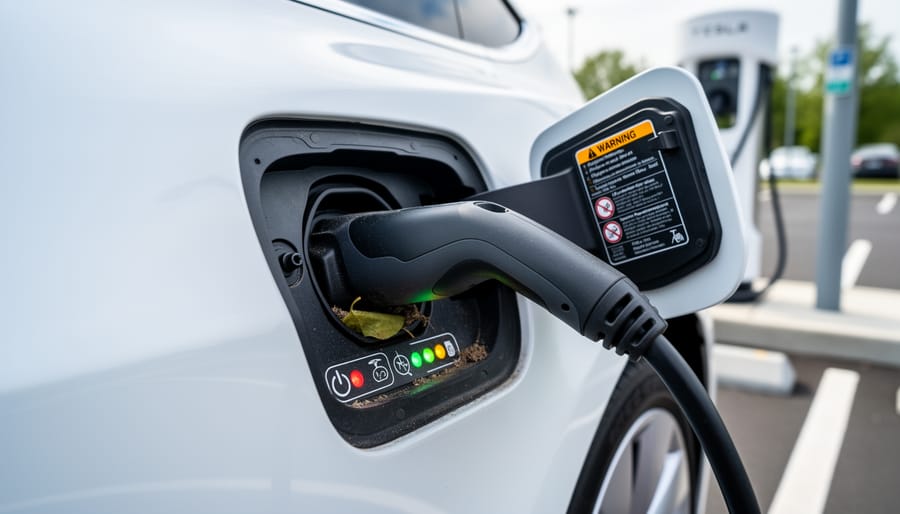
Before you try complex fixes, pinpoint exactly what’s happening when you attempt to charge. The symptoms you’re experiencing reveal specific causes, and identifying them now saves time and prevents unnecessary troubleshooting.
Start by observing what happens when you attempt to insert the charger. If the connector stops immediately at the port opening and won’t enter at all, you’re likely dealing with a closed or partially closed charge port door, a physical obstruction blocking the opening, or ice buildup in cold weather. This is the most straightforward scenario to diagnose visually.
When the connector slides in partway but stops before reaching the full insertion depth, the problem typically involves debris inside the port cavity, misaligned connector pins that aren’t seating properly in their receptacles, or a bent pin on either the connector or within the port itself. You may feel resistance at a specific point during insertion rather than a complete blockage.
If the charger appears to insert fully but feels abnormally loose, wobbles excessively, or falls out easily, the port’s retention mechanism has likely worn or broken. A properly inserted Tesla connector should seat firmly with minimal play. Similarly, when the connector inserts but the vehicle doesn’t recognize it or the port won’t lock the connector in place, you’re facing either a communication issue between the port and vehicle systems or a malfunctioning latch motor.
Pay attention to any sounds or visual cues. A clicking noise usually indicates the latch engaging correctly, while the charge port light ring should illuminate when the connector is properly seated and charging begins.
Common Causes of Tesla Charging Port Insertion Problems
Debris and Obstruction Issues
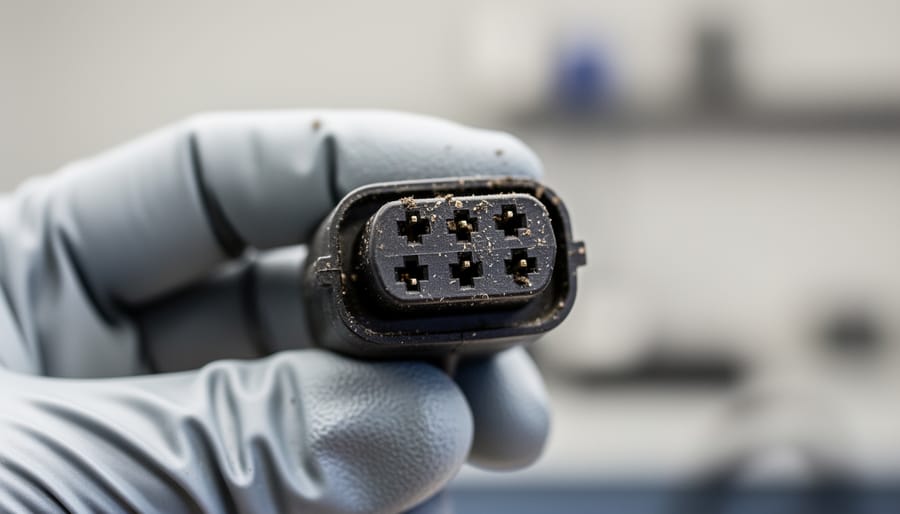
Debris is the most frequent culprit behind Tesla charger insertion problems. Even tiny particles, a leaf fragment, road salt crystals, ice buildup, or windblown grit, can lodge between the connector pins or inside the charge port cavity, physically blocking the charger from seating properly. You might feel resistance at a specific angle or notice the connector stops short of clicking into place.
Outdoor charging stations face constant exposure to rain, snow, pollen, and road debris, making them significantly more vulnerable than garage-protected home chargers. Uncovered public stations accumulate dust and moisture that can freeze overnight, forming an ice layer that prevents the port door from opening fully or creates a barrier inside the port itself. Parking under trees compounds the issue, as falling leaves and sap introduce organic matter that sticks to contact points. Regular visual inspection before each charging session catches these obstructions early, before they harden or cause connector pin damage.
Charge Port Door and Latch Mechanisms
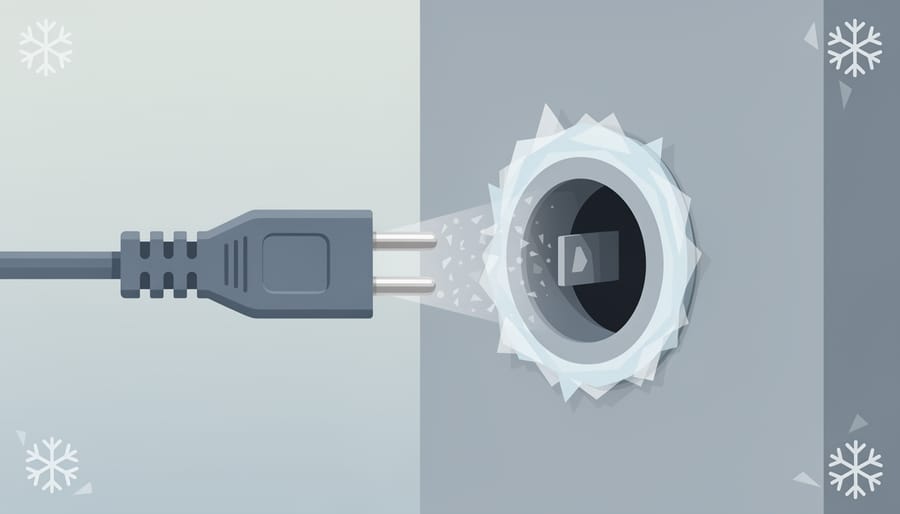
Tesla’s charge port system relies on two motorized components that can prevent your charger from inserting properly when they malfunction. The charge port door, which automatically opens when you press the connector button or tap the touchscreen, occasionally freezes in cold weather or fails to fully retract due to motor wear. When the door doesn’t open completely, it creates a physical barrier that blocks the connector from reaching the port.
The internal latch mechanism presents a more subtle problem. This spring-loaded component secures the connector once inserted and releases it when you press the charge port button. Over time, the latch can weaken, causing it to engage prematurely and block insertion, or it may misalign due to repeated use. A misaligned latch creates resistance that makes the connector feel stuck halfway in. Both issues are more common in vehicles with high charging frequency or exposure to temperature extremes, as thermal expansion contracts metal components and affects calibration.
Connector and Adapter Compatibility
Tesla vehicles use the North American Charging Standard (NACS) connector, a proprietary design that’s become increasingly universal across the EV industry. When you attempt to use third-party charging stations, you’ll often need an adapter to bridge different connector standards.
The J1772 adapter is the most common, enabling Teslas to charge at Level 2 public stations. CCS (Combined Charging System) adapters support DC fast charging at non-Tesla stations, while CHAdeMO adapters work with older fast-charging networks. Each adapter has specific pin configurations and locking mechanisms that must align perfectly with your charge port.
Using an incorrect adapter creates immediate fit problems. A CCS adapter won’t work with a J1772 station, and forcing the wrong combination can damage port pins. Third-party adapters vary in manufacturing quality, poorly made copies may have slightly oversized housings or misaligned pins that prevent proper insertion even when technically compatible.
Always verify you’re using the correct adapter for your charging station type. The adapter should slide in smoothly with minimal resistance. If you feel binding or the connector stops partway, you likely have a compatibility mismatch rather than a physical obstruction.
Step-by-Step Solutions to Fix Charger Insertion Problems
Inspect and Clean the Charge Port
Start by parking your Tesla in a well-lit area and opening the charge port door through your touchscreen or by pressing the button on your Mobile Connector. Use your phone’s flashlight to thoroughly examine the port opening, look for leaves, dirt, small stones, ice buildup, or any visible damage to the pins and contacts inside.
For debris removal, use a soft, dry microfiber cloth to gently wipe around the port opening. Never insert metal objects or sharp tools that could scratch the contacts. If you spot stubborn dirt between the pins, a can of compressed air works well, hold it upright and use short bursts from six inches away to dislodge particles without forcing moisture into the electronics.
In freezing conditions, ice can prevent proper connector insertion. Let your vehicle warm up in a garage if possible, or use the Climate settings to pre-condition the battery, which generates heat that helps melt port ice. Don’t pour hot water directly into the port, thermal shock can damage components.
After cleaning, inspect the rubber gasket around the port perimeter. If it’s cracked or missing, water intrusion becomes likely and professional replacement is needed.
Reset the Charge Port Door
If cleaning the port doesn’t solve the problem, the charge port door mechanism itself may need resetting. Start by tapping the charge port icon on your vehicle’s touchscreen, then select “Unlock Charge Port” followed by “Close Charge Port Door.” Wait five seconds, then open it again using the touchscreen or by pressing the charge port door while the vehicle is unlocked.
For stubborn cases, cycle the door five to ten times in succession. This repetitive action can help reseat the internal motor and latch components. Between cycles, listen for unusual grinding sounds or watch for jerky movement, which might indicate a deeper mechanical issue.
The Tesla mobile app provides another reset method. Open the app, select your vehicle, then navigate to Controls and tap the charge port button to open and close it remotely. This software-initiated command sometimes clears electronic glitches that manual operation won’t fix.
After resetting, test the connector insertion immediately while the port is fresh.
Check Connector Alignment and Insertion Technique
Proper insertion technique can resolve many charging problems that initially seem like hardware issues. Begin by holding the connector straight and level, not at an angle. The Tesla charge port is designed for a perpendicular approach, tilting the connector up, down, or sideways can cause the pins to catch on the port opening rather than slide smoothly inside.
Before inserting, look directly at both the connector pins and the port openings. The rectangular shape of the connector should match the port orientation exactly. If the pins don’t line up with their corresponding slots, rotate the connector 180 degrees rather than forcing it.
Use steady, gentle pressure when inserting. You should feel the connector slide in smoothly for about two inches until it seats fully and clicks. If you encounter resistance within the first half-inch, stop immediately and check alignment rather than pushing harder. Forcing a misaligned connector can bend pins or damage the port latch.
Common mistakes include rushing the insertion, pushing at an angle while simultaneously pressing the charge port button, or applying excessive force when initial resistance is felt. Take three seconds to align properly, it prevents damage that could cost hundreds to repair.
Verify Adapter Compatibility and Condition
If you’re using a third-party charging station, confirm you have the right adapter for your Tesla model. Most non-Tesla Level 2 chargers use the J1772 standard, which requires Tesla’s J1772 adapter (included with most vehicles). The adapter should click firmly into both the charger and your charge port, any wobble suggests wear.
Examine the adapter closely for cracked plastic housing, bent pins, or corrosion around metal contacts. Even minor damage compromises the connection and prevents proper insertion. Check that the locking button moves freely; a stuck button won’t release the adapter from either end.
Test your charge port’s condition by trying the OEM Tesla Mobile Connector or Wall Connector if you have access to one. If the Tesla charger inserts smoothly but third-party equipment doesn’t, the adapter is likely faulty rather than your vehicle’s port. Replace worn adapters promptly, they’re safety-critical components that ensure reliable charging connections.
Perform a Vehicle Reset
A software glitch occasionally prevents your Tesla’s charge port from responding properly, even when there’s no physical obstruction. A soft reset clears temporary system errors without affecting your settings or data.
How to perform a soft reset:
1. Sit in the driver’s seat with the vehicle in Park
2. Press and hold both scroll wheels on the steering wheel simultaneously
3. Keep holding until the touchscreen goes black (10-15 seconds)
4. Wait for the Tesla logo to appear and the screen to restart fully
5. Once the system reboots, try inserting the charger again
This reset resolves most charge port communication issues within two minutes. The charge port should respond normally after the reboot completes.
If the soft reset doesn’t work after two attempts, the problem likely involves hardware rather than software. A power cycle (turning the vehicle completely off for several minutes) rarely helps with charge port issues and isn’t necessary before contacting Tesla Service.
Understanding Your Tesla Charger Options and Port Compatibility
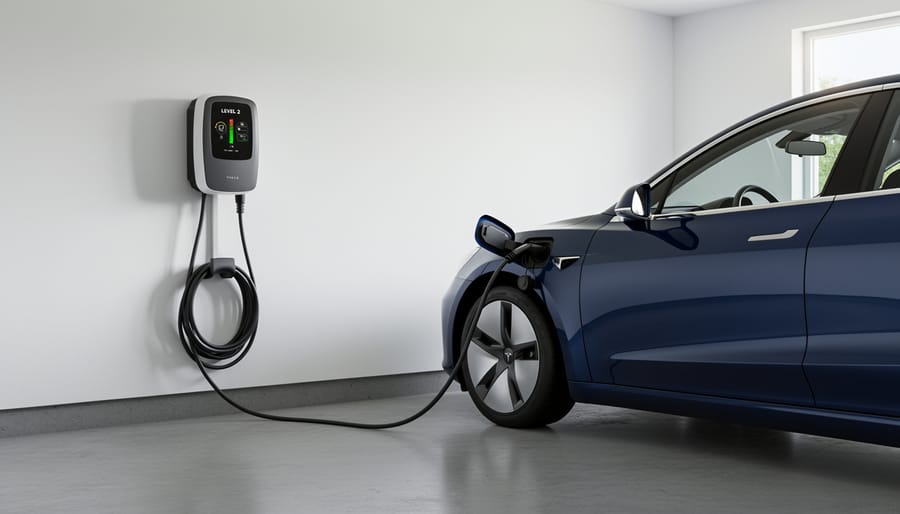
Tesla vehicles use the NACS (North American Charging Standard) port, formerly called the Tesla proprietary connector. Understanding which chargers and adapters work with this port is essential for avoiding insertion problems and ensuring reliable charging.
The Tesla Wall Connector is the company’s dedicated home charging solution, featuring a permanently attached NACS cable that plugs directly into your Tesla’s charge port. This hardwired or plug-in unit delivers up to 44 miles of range per hour and provides the most secure, purpose-built connection since it was designed specifically for the NACS port geometry.
Tesla’s Mobile Connector is the portable charging cable that comes with many new vehicles. It includes a NACS connector and various adapters (NEMA 5-15 for standard outlets, NEMA 14-50 for higher-power connections) that attach to the wall end, not the vehicle end. The vehicle-side connector remains NACS regardless of which wall adapter you use.
The Universal Wall Connector, Tesla’s newest home charging option, can charge both Tesla vehicles (via NACS) and non-Tesla EVs (via the included J1772 adapter on the charger itself). This dual-standard approach means Tesla owners still plug in a NACS connector directly.
| Charger Type | Connector to Vehicle | Compatibility | Insertion Considerations |
|---|---|---|---|
| Tesla Wall Connector | NACS (built-in) | All Tesla vehicles | Direct fit, no adapter needed |
| Mobile Connector | NACS (built-in) | All Tesla vehicles | Direct fit, adapters only on wall end |
| Universal Wall Connector | NACS or J1772 | Tesla and non-Tesla EVs | Correct cable must be selected |
| Third-party Level 2 | J1772 (requires adapter) | With SAE J1772 adapter | Adapter adds connection point, must seat fully |
Third-party Level 2 chargers typically come with J1772 connectors, the industry standard for non-Tesla EVs. To use these with your Tesla, you need the SAE J1772 adapter that either came with your vehicle or can be purchased separately. This adapter attaches to the J1772 connector first, then the combined unit inserts into your Tesla’s NACS port. Many insertion issues with third-party chargers stem from the adapter not seating completely onto the J1772 connector before attempting to insert it into the vehicle, or from worn adapter contacts that prevent a secure fit.
Choosing equipment designed for the NACS standard eliminates the extra connection point and reduces potential fit problems, while government incentives for home charging infrastructure can offset the cost of upgrading to native Tesla charging solutions.
Preventing Future Charger Insertion Issues
Regular maintenance and smart charging habits can eliminate most charger insertion problems before they start. A monthly visual inspection of your charge port takes less than a minute but catches issues early. Look for debris accumulation, ice buildup in winter, or any visible damage to the latch mechanism or connector pins. If you charge outdoors, increase inspections to weekly during fall when leaves and debris are prevalent, and daily during winter storms when ice can form overnight.
Protecting your charge port from the elements extends its lifespan significantly. For outdoor charging setups, position your vehicle to minimize direct exposure to rain, snow, and wind-blown debris when possible. When not charging, keep the charge port door closed, it’s designed to seal out moisture and contaminants. Some Tesla owners use magnetic charge port covers for additional protection during extended periods without charging, though these aren’t necessary for daily drivers. If you’re planning a home charging installation, consider a covered or garage location to reduce environmental exposure.
Store your Mobile Connector properly when not in use. Coil the cable loosely rather than creating tight loops that can stress internal wires over time. Keep the connector end off the ground and away from dirt, and store it in a dry location. Never leave the connector plugged into an outdoor outlet during severe weather if it’s not actively charging. Inspect the connector pins monthly for corrosion or dirt buildup, and clean gently with a dry microfiber cloth.
Recognizing early warning signs prevents minor issues from becoming major problems. If your charger requires progressively more force to insert, feels loose after insertion, or the charge port door hesitates before opening, address these symptoms immediately. A charge port that occasionally fails to lock the connector signals a latch mechanism beginning to wear. Similarly, if you notice your charging sessions randomly stopping or the connector feels unusually warm after charging, inspect both the port and connector for damage or poor contact.
Maintain your adapters with the same care as your primary charging equipment. J1772 adapters see frequent connect-disconnect cycles that can wear the locking mechanism and pins. After every 50 charging sessions with an adapter, inspect it for loose components, bent pins, or cracks in the housing. Replace adapters at the first sign of damage rather than risk damaging your vehicle’s charge port.
When to Seek Professional Service
While most Tesla charger insertion issues resolve with basic troubleshooting, certain situations require professional intervention. Attempting repairs beyond your expertise can damage sensitive electrical components, void warranties, and create safety hazards.
You should contact Tesla Service or a certified EV charging installer if you encounter:
- Visible damage to the charge port housing, such as cracks, bent metal, or broken plastic components
- Connector pins that appear bent, corroded, or misshapen inside the port
- Repeated failures where the charger won’t insert even after cleaning and resets
- Error messages on your touchscreen indicating port communication failures or hardware faults
- Burning smell, unusual heat, or discoloration around the charge port area
- Mechanical sounds like grinding or clicking when attempting to open or close the port door
Before scheduling service, verify your vehicle’s warranty status. Tesla’s New Vehicle Limited Warranty covers charge port defects for four years or 50,000 miles, whichever comes first. Document the problem with photos and notes about what you’ve already tried, as this information helps technicians diagnose the issue efficiently.
For home charging equipment problems, certified electricians who specialize in EV infrastructure can assess whether your Wall Connector or third-party charger needs replacement. Many states offer rebates through clean energy programs that offset professional installation and equipment upgrade costs. Properly functioning charging equipment isn’t just convenient, it ensures safe energy transfer, protects your vehicle’s battery system, and supports reliable daily EV operation that reduces your carbon footprint over time.
Tesla Charger Go in Terms to Know
- NACS (North American Charging Standard)
- Tesla’s proprietary connector design that fits all Tesla vehicles and is becoming the industry standard. Other manufacturers are adopting this connector, making compatibility simpler for EV owners.
- Charge Port Latch
- The motorized mechanism inside your Tesla’s charge port that grabs and locks the connector in place during charging. A malfunctioning latch can prevent proper insertion or cause the connector to feel loose.
- J1772 Adapter
- An adapter that allows Teslas to connect to standard Level 2 public charging stations. This adapter must be properly seated on the J1772 connector before inserting into your Tesla’s charge port.
- Charge Port Door Actuator
- The small motor that automatically opens your Tesla’s charge port cover when you press it or approach with your Mobile Connector. Freezing temperatures or mechanical wear can cause this component to malfunction.
- Connector Pins
- The metal contact points inside both the charging connector and your vehicle’s port that must align precisely for power transfer. Bent or corroded pins are a common cause of insertion difficulty.
Understanding these components helps you communicate clearly with Tesla Service if professional assistance becomes necessary. When describing your charging issue to a technician, referencing the specific part that appears problematic speeds diagnosis and ensures you receive the right solution the first time.
Frequently Asked Questions
Can I damage my Tesla by forcing the charger in?
Yes, forcing the connector can bend or break the pins inside your charge port, damage the latch mechanism, or crack the port housing. If the charger doesn’t insert smoothly with moderate pressure, stop and diagnose the issue rather than applying more force.
Does cold weather require special charging procedures?
Freezing temperatures can cause the charge port door to stick or ice to form inside the port. Precondition your Tesla using the app before charging to warm the port mechanism, and gently clear any visible ice with your hand rather than metal tools that might scratch the contacts.
How can I tell if the problem is my charge port or the charger?
Test with a different charger if possible, if that one works normally, your original charger has the issue. If multiple chargers won’t insert properly, the port itself likely needs attention. Also check whether the port door opens automatically when you press the charge handle button; if it doesn’t, that points to a port problem.
Will using a third-party charger void my Tesla warranty?
No, using a properly certified third-party Level 2 charger or adapter won’t void your warranty. However, damage caused by non-certified or modified charging equipment might not be covered, so stick with reputable brands that meet safety standards.
These questions reflect the real concerns drivers face when their charging routine gets disrupted. Most insertion problems stem from simple mechanical issues rather than serious electrical faults, which is why working through the troubleshooting steps methodically usually gets you back to charging within minutes. The key is recognizing when an issue requires gentle attention versus when it signals the need for professional service, protecting both your vehicle and your charging equipment ensures reliable operation for years to come.
Most Tesla charger insertion problems stem from simple, fixable issues rather than serious hardware failures. With basic troubleshooting, cleaning debris from the charge port, resetting the door mechanism, checking connector alignment, or verifying adapter compatibility, you can typically resolve the issue in minutes without professional help. Regular maintenance prevents these frustrations from recurring and keeps your charging routine reliable.
Properly functioning charging equipment is essential not just for convenience but for supporting the larger shift toward sustainable transportation. Every successful charge reduces reliance on fossil fuels and contributes to cleaner air in your community. When your equipment works as intended, you maximize the environmental benefits that drew you to electric vehicle ownership in the first place.
If you’re considering upgrading your home charging setup to avoid future issues, explore available government incentives for EV charging infrastructure. Federal tax credits and state rebate programs can significantly offset the cost of installing a dedicated Wall Connector or Universal Wall Connector, making reliable home charging more affordable while advancing your commitment to sustainability. Investing in quality charging solutions today ensures a smoother, more dependable EV experience for years ahead.